This post is part of a bigger Debian material that you can access here. If you need to know first the basics about squid configuration, you can check out here.
Now, the network that I have configured the proxy for. Is a 300 PC network with the following range 10.175.0.0/23 (net mask 255.255.254.0). The IP address of the proxy is 10.175.0.1. My proxy uses a few father proxies. Continue reading →
Squid3 proxy server is the subject of this post, along this writing I am going to show you how to install and configure this proxy server. For more information you can visit this URL; the official website of the project. My system is a Debian jessie 8.
This post is part of a bigger Linux and Debian basic administration material that you can access here. I have also described a squid 2.7 working configuration here. Squid 2.7 is a bit different from squid3 but they are configured basically the same way except for a few new directives and some other changes and deprecations. Let’s play then.
Virtualbox is today’s posts subject . We will talk about virtualization and how to virtualize a box using Virtualbox. To start we need to know what is virtualization and its advantages.
virtualbox logo
Virtualization, in computing, refers to the act of creating a virtual (rather than actual) version of something, including but not limited to a virtual computer hardware platform, operating system (OS), storage device, or computer network resources.
Taken from: http://en.wikipedia.org/wiki/Virtualization on 2014-04-22.
I have been programming for one week and I have a transport module that can work for different situation now. I have released it as a MIT license so that any one can use it or do what ever they want with it. My objective is to create a truly free ERP system. But you have to start somewhere, and I have decided that the transport module could be a nice module. This module is a software that can be used to record transport expenses and to follow the cars movements. It’s not a tracking systems. but in the future I an planning to integrate it with one of this projects. the project was developed with Symfony 2; php, MySQL.
In this document I described the Symfony 2 development process for the development of a Fleet management system. I started from scratch to what I currently have and it took me one week of work. The project is going to be used by a friend of mine company. All the iterations and problems found along a real life development process will be posted here. This document is about the Transport module and the objective is not to have a book of how to use Symfony 2 and develop. But a guide of what has been done with Symfony 2 and the current state of the module. More like a diary of notes and the documentation of this development. You can also find some other Symfony 2 development material here.Continue reading →
Good day; today we will install a web server using Apache 2. We will specifically use apache because there are many web servers out there, and apache is probably the most popular one even among windows users, when you install Wamp Server, or Xamp,
Apache Web Server
you are also installing apache 2.x. It has some other advantages or benefits like Openness, a lot of features, extensibility, portability, cost, simple administration, reliability, flexibility, etc. Check out this link for some explanations. It has also some downsides or disadvantages like for instance; it’s Written By Geeks, For Geeks. That does not mean is difficult or any thing like that, but it can be twisted for some specific situations.
The Linux philosophy to install a software like Apache 2 is different from Windows. Windows tries to solve all of your problems at once, Linux’s philosophy is to solve only one of your problems using the best practices. Each of this ways of thinking has it pros and cons, but that is not the objective of this class, so we move on.
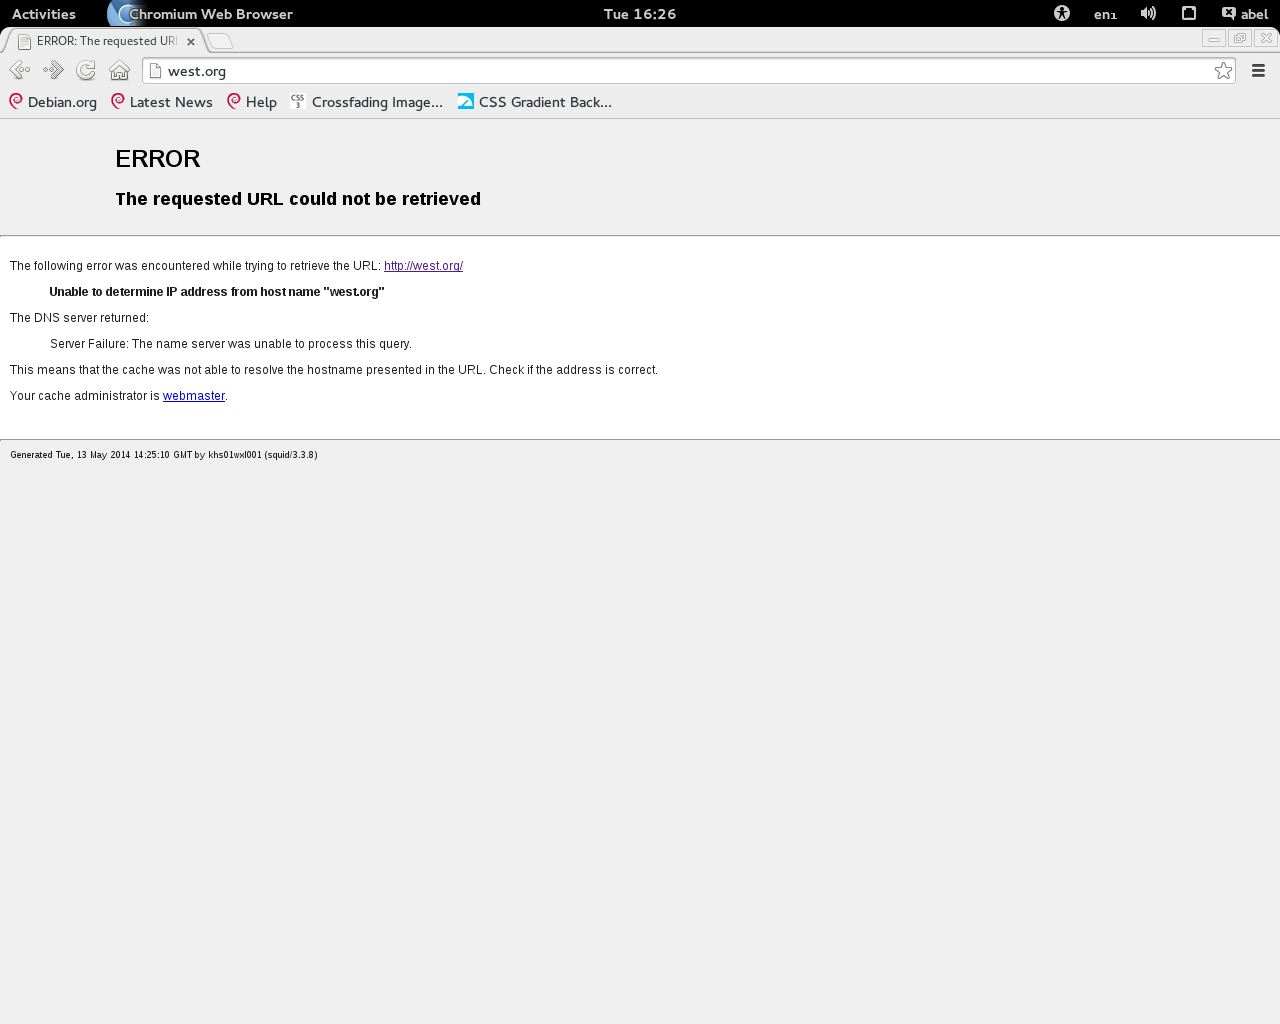
Hello, today I will try to teach how to configure a DNS (Domain Name Server or System). “Putting a DNS server on a network allows for the replacement of IP addresses of individual machines by a name. As a result, it’s
DNS
even possible to associate multiple names to the same machine to update the different available services. For example, www.example.com and pop.example.com, could both point to the primary server where the mail server and the business intranet reside, and the domain could be example.com. It’s easy to remember that these two services are running on the same machine whose IP address is 192.168.0.1.
Note: This post is part of a bigger Debian GNU-Linux material that you can access here.
Now imagine that our network administrator decides for some reason or another to move the mail server to the machine 192.168.0.11. The only thing that has to be changed is the DNS server configuration file. You could always go and modify the host configuration for all the users, but that would be time consuming and inconvenient.”
Taken from: https://wiki.debian.org/Bind9 on 2014-03-19
To work with Symfony, many people recommend to install every thing as a separate entity; PHP, Apache and MySQL. But sometimes the reality is different and you just need to use what you need to use. That was my case. I had WAMP Server 2.4 working for WordPress and I neded to install a Symfony 2.4 project, no option. So I decided to just meet the Symfony dependencies and install it. Then I created a cert of manual or how to? to help to guide others that might have the same problem. Also you might want to do it because of some other reason, but that was my reason. I was requested to do it like that and only like that. And in my country we have a saying that teaches something like this. If someone wants something even if it is a bad thing; don’t give him other thing. Of course I do not mean that WAMP or Symfony together are a bad thing. This is what I have done: Software to install:
WAMP Server 2.4.
Symfony Requirements
Symfony 2.4
Note: this post is about installing Symfony in windows with wamp if you work with Linux you can use this material. and if what you want is to move an app from development to a production environment, you need to do this.
WAMP Server 2.4
1- Install WAMP server 32 bits.
Get wamp from here. Because of some incompatibilities with some versions of cache accelerators for php 5.4 64 bits it’s preferable to install the WAMP server 32 bits version. I have had problems to make the 64 bits work, but I can not 100% confirm it was because of incompatibility. I have installed wamp 32 bits latest version in: D:\Web\wamp. You can install it where ever you want, even the default path is a nice place for most people.
Before installing wamp you need to make sure you have installed Microsoft Visual C++ 2010 Redistributable, if you do not have it you can get the the version for 32 bits Windows from here, and for 64 bits from here.
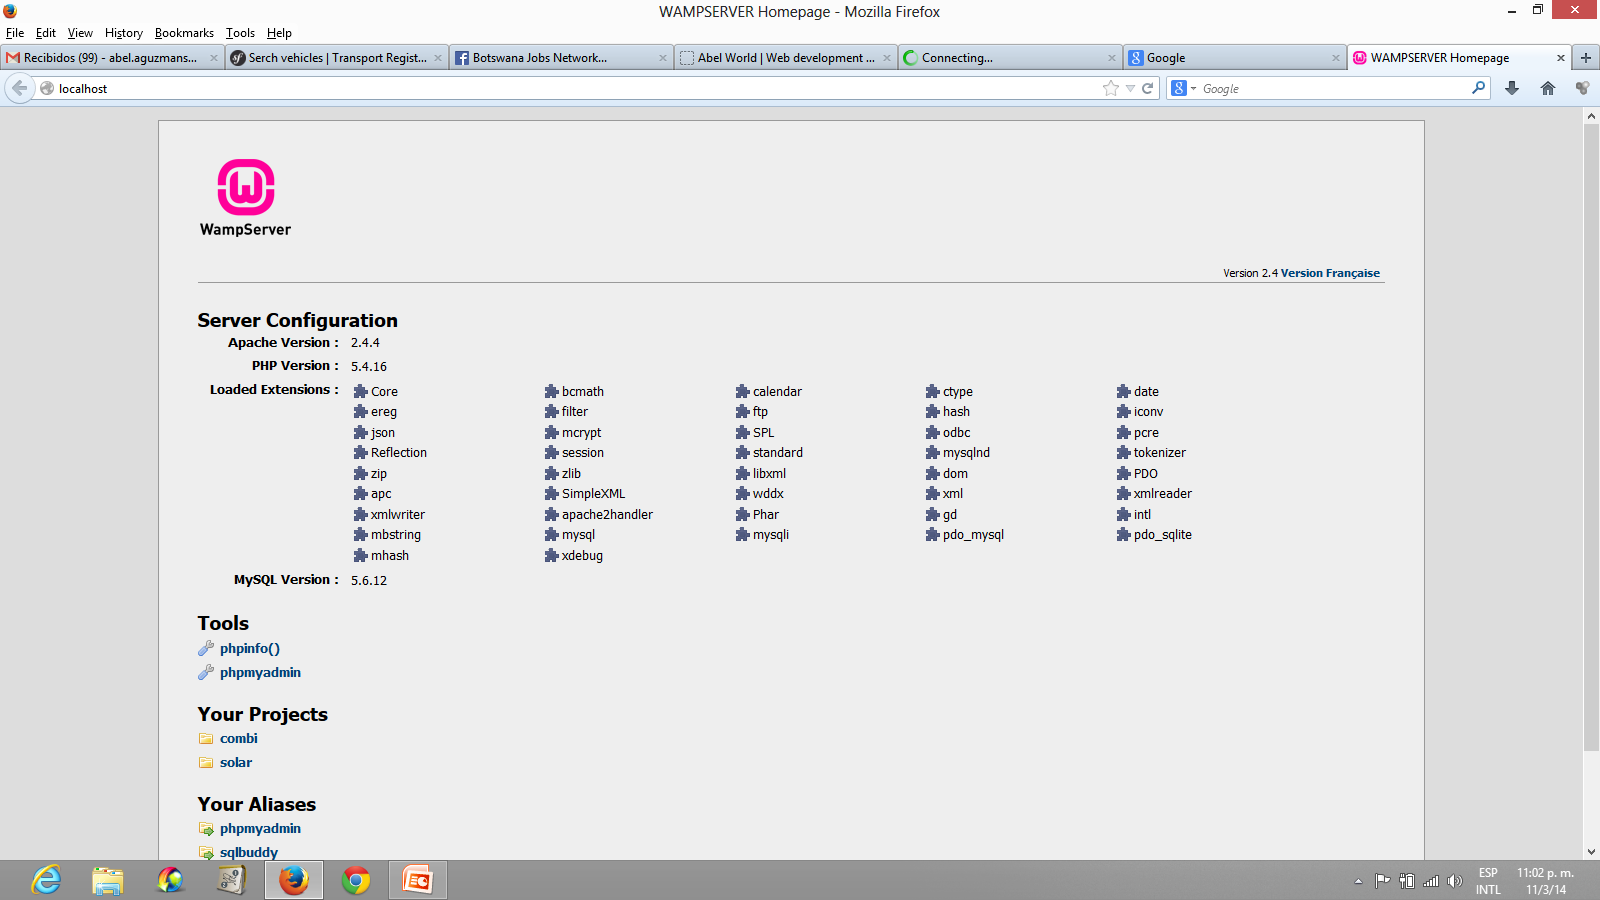
The installation process goes straight forward normally is a next-next matter. Once you are done you can start the service straight away and test it by writing in your browser address bar:
http://localhost
Check out the picture.
2- PHP ssl module working
we need to install Composer the tool recommended and that we will use to download Symfony from the prompt. Composer recommends to have the php ssl module working. To do that we need to edit the php.ini for cli as when you enter commands in the prompt the system does not run the commands through Apache, so is the cli php.ini the one we need to edit. So edit the php.ini in Your\installation\path\php\php5.4.12\php.ini (the php version might change depending on the version of WAMP). On the file go to the extensions section and remove the ; from the extension for ssl.
extension=php_openssl.dll
This let’s composer run secure PHP connections from the prompt.
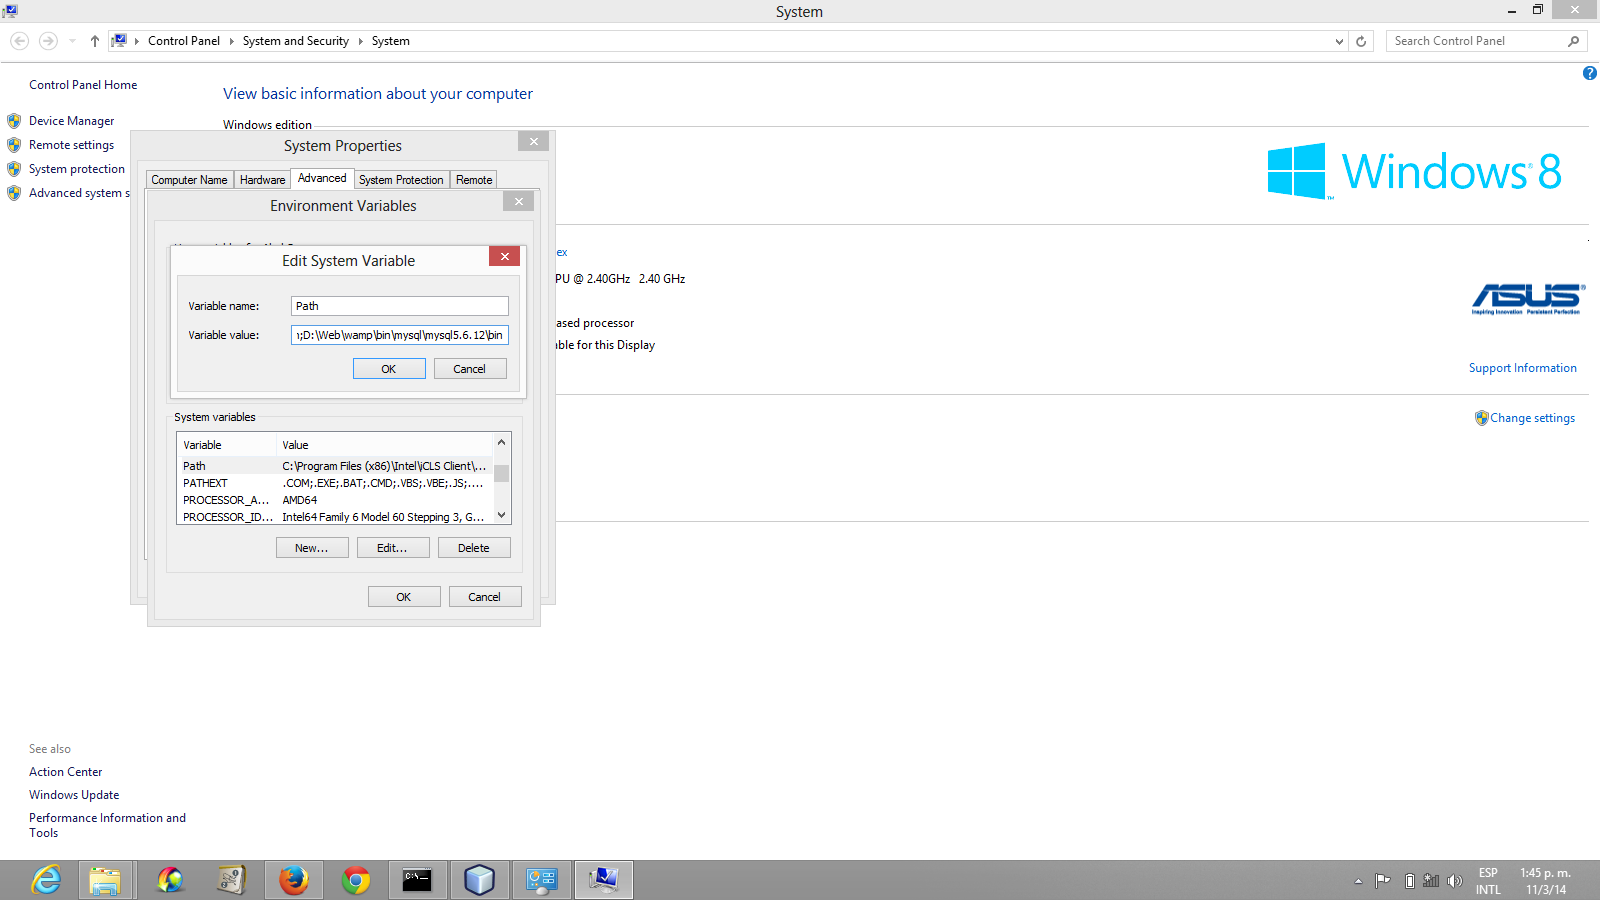
Activate environment variable for PHP, MySQL and Composer once you install it. add to the environment variable called PATH the path to your PHP, MySQL and Composer.
Environment variables for Symfony
To edit the system PATH environment variable:
Right-click on My Computer/Computer and select Properties
Select the Advanced system settings tab in the advanced dialog that appears
Click on the Environment Variables button
Locate PATH in the System variables list
Click Edit and add your directories containing the binaries separated by ; mine looks like this:
If you look closer there is a ; between every path that I specify. And the path is just the route to the executable files of the software that you want to be declared in your environment.
Note: Wamp’s php comes with a xdebugger version (a symfony requirement) so it does not need to be installed.just edit the nesting level. to do that update Apache’s php.ini and set the xdebug.max_nesting_level to 250:
[xdebug]
 xdebug.remote_enable = off
 xdebug.profiler_enable = off
 xdebug.profiler_enable_trigger = off
 xdebug.profiler_output_name = cachegrind.out.%t.%p
 xdebug.profiler_output_dir = "D:/Web/wamp/tmp"
 xdebug.max_nesting_level = 250
In normal conditions you will only have to add the last line.
5- Install a cache manager extension.
Normally you can install APC (http://dev.freshsite.pl/php-accelerators/apc/file/details/apc-3114-beta-for-php-54-win72008.html) or Opcache (http://dev.freshsite.pl/nc/php-accelerators/zend-opcache). I have decided to install APC if you have any newer PHP version 5 or newer Opcache is recommended as the default PHP acelerator even incorporated in the default installation.
To install APC, first copy the file to the extension_dir (you can find it in your php.ini).
Then add the following to the php.ini file.
extension=php_apc_3114_beta_php54_win7-2008.dll
where php_apc_3114_beta_php54_win7-2008.dll is the name of the apc dll downloaded from the URL, and it´s copied in the folder php/ext as I mentioned before.
If you want Symfony to use Opcache for this version of PHP, it should be something like this in you php.ini file.
As we also have Xdebugger by default in WAMP we need to put the configuration before the xdebugger configuration in order for it to work otherwise it will not load.
Taken from: http://www.php.net/manual/en/opcache.installation.php
6- Activate other PHP modules
I recommend these if they are not already active to be active in yout php.ini:
-Open a command prompt and load the path to the install files, normally something like c:/wamp/www/project or in my case D:\Web\wamp\www\combi.
-Open your command prompt (CMDor any other you prefer) and load the folder where you have installed. Have the forder for your project to do that you can use the commands cd, mkdir, etc.
Note: If you are behind a proxy server you have to set and environment variable to say who is the proxy and how to authenticate. open a terminal and write something like this:
SET HTTP_PROXY=http://username:password@proxy.yourdomain.com:8080
SET HTTPS_PROXY=http://username:password@proxy.yourdomain.com:8080
Remember to change the parameter to fit in your network. username, password,proxy server name and domain or IP and the proxy port.
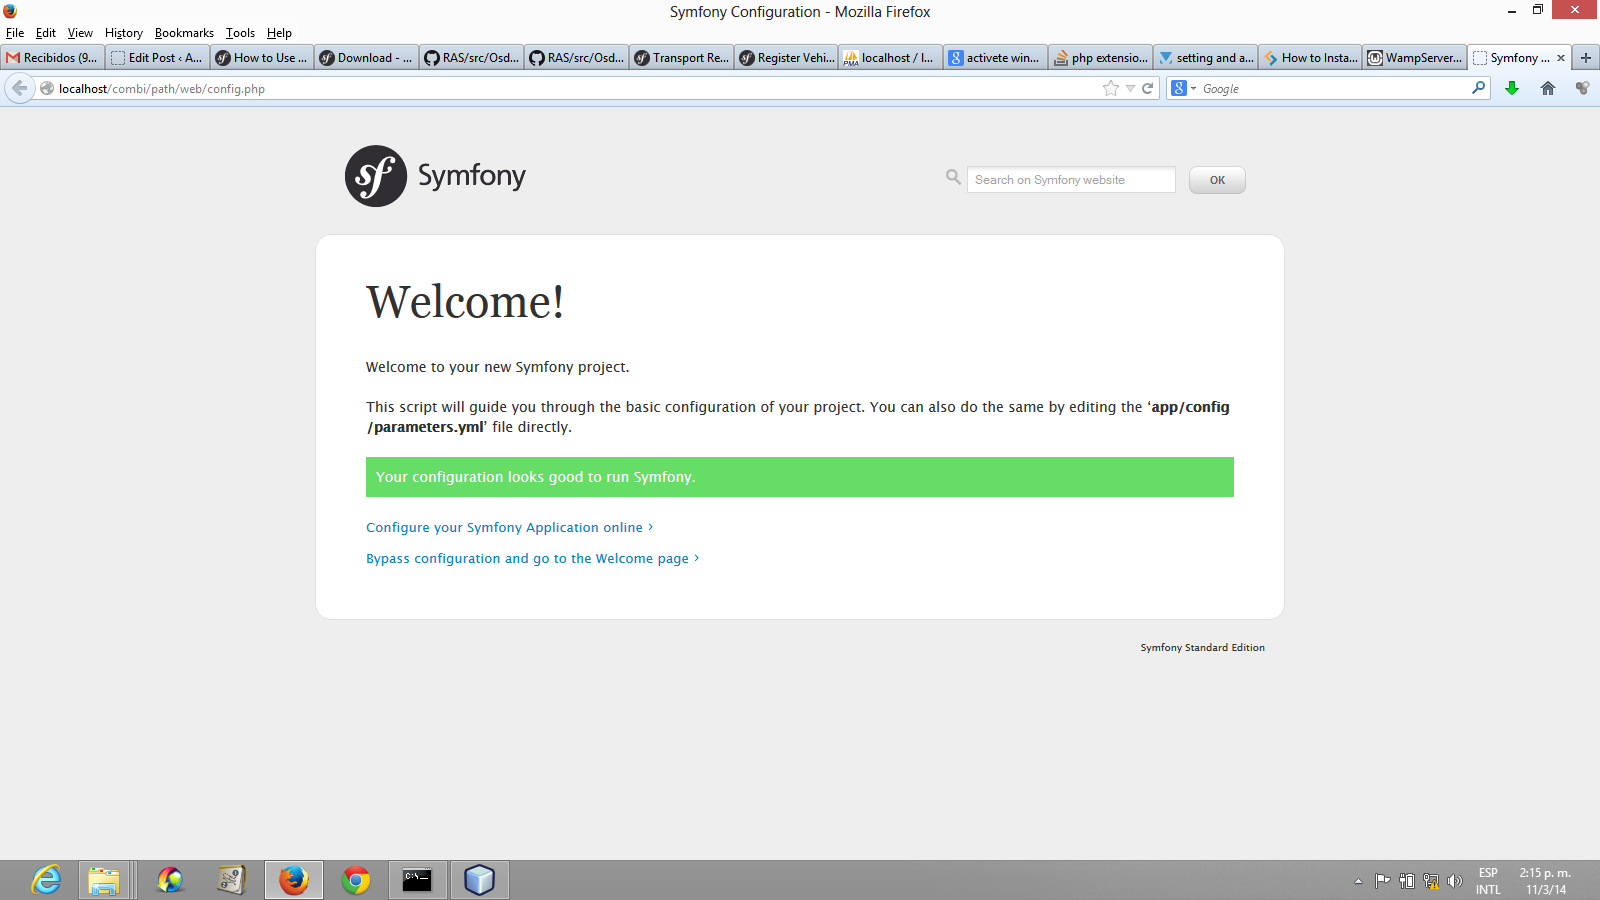
Symfony config check
And that is it. We are done after the download is finished you can check that every thing is working. To do that put the following in the browser or at least something similar:
http://localhost/combi/path/web/config.php
Under normal circumstances if everything went well you should get something like the picture, otherwise, review the step corresponding to the problem.