Hello, today I will explain how to “unhide” files on a Windows Drive. Normally it happens a lot to USB drives when you put them in an infected computer. It also can apply to any other writable storage device, not only usb. This is really a headache for a lot of users and sometimes is impossible for them to solve this problem and unhide the files. Any way the truth is that is not very complex and any one can unhide the files following a few simple steps.
Initial thoughts:
If you are planning to unhide the files using the same computer that have infected them. You should make sure first that the computer is clean from virus. For that purpose you should use a good anti-virus software.
Otherwise sometimes the anti-virus is able to remove the virus from the storage device (USB or other). But you still can’t really see the files. Somehow you might know that your files are on the USB because you know you copied on the device or you created them in some earlier time, but you can’t see them any more.
Let’s stop talking a little bit and start to do some actual unhide work:
- Connect the device.


- Check and remember the Letter assigned to the device with the files or folders to unhide. It can be something like F: or G: or A:. To check it go to start and open “Computer” (on windows Vista/7/8) or “My Computer” (on Windows XP/2003 or earlier). Other option to check the device’s letter is just to press Windows Key + E if your Operating System is in English and it will show the windows explorer with all the drives.
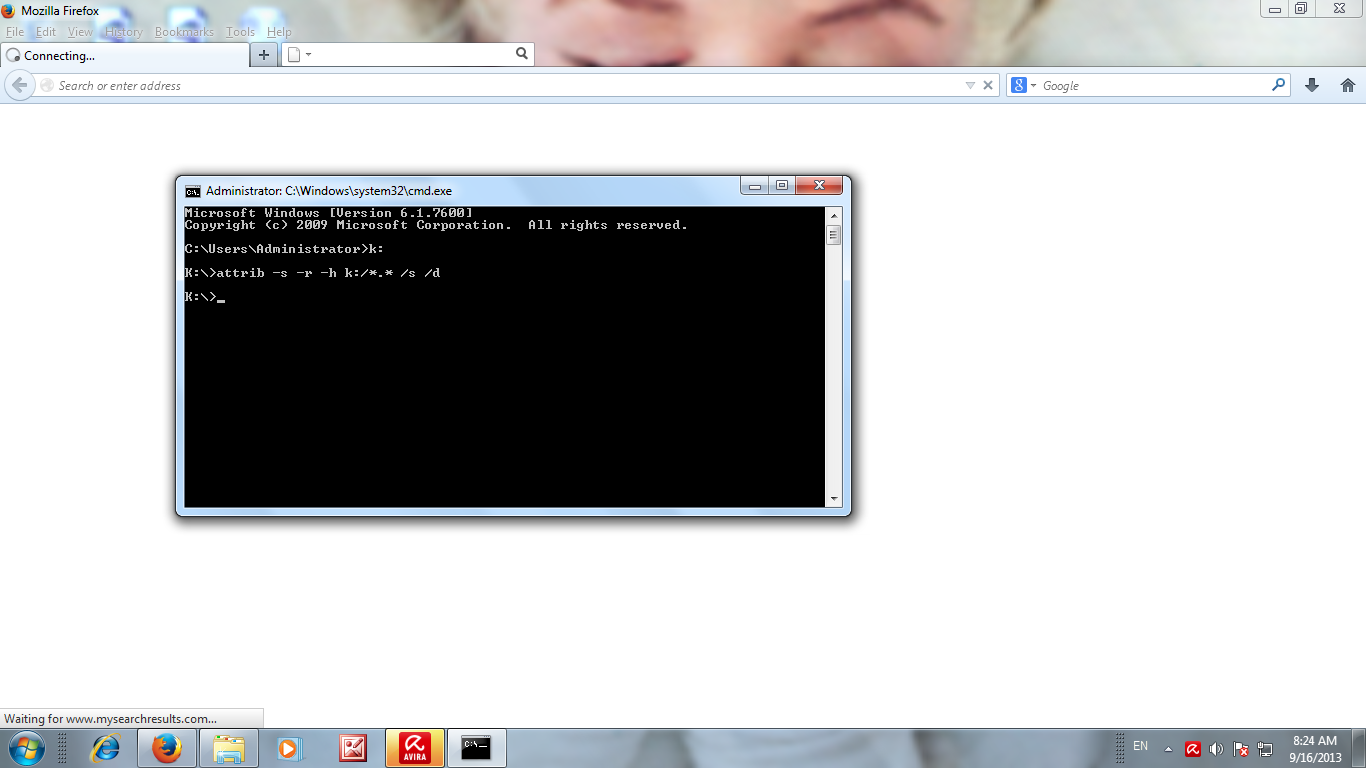
- Then open a command prompt window. This is basically the black window that many are afraid of, but do not worry to much, the process will be simple. To open the black window press Window Key + R and then write cmd on the small dialog box and then press Enter. Once you do that the black window will appear like in the attached picture.
- By default the cmd (let’s just call it black window) will open pointing to your personal files and not to the USB device. So we have to say to the black window to open the USB device. To do that type the device letter. The one that I told you to remember in the second step followed by a colon eg.: A: or Z: or K: like in my case (you can check the picture) and them press Enter. The final result of this action should be a small change on the black window that now will show a something like K:> where K is your device’s letter.
- Now is time to beg to the black window to save you and your files and finally unhide them all. To do that write the following in the black window: “attrib -s -r -h K:/*.* /s /d” write this without “” of course. Remember that instead of K you should write your device’s letter. Then press Enter and wait until the black window shows again the already known K:> where K is your device’s letter. When you press enter depending from the work that has to be done is the time that it will take to unhide everything, and it can be from 1 second to 4 or 5 minutes or even more.
Final thoughts:
The process of unhide files is not very complex, and you do not need a guru to do it for you. The black window sometimes serves to solve some problems that the graphic environment can not solve.
Cheers and feel free to ask any question.