Network and DNS client configuration; introduction
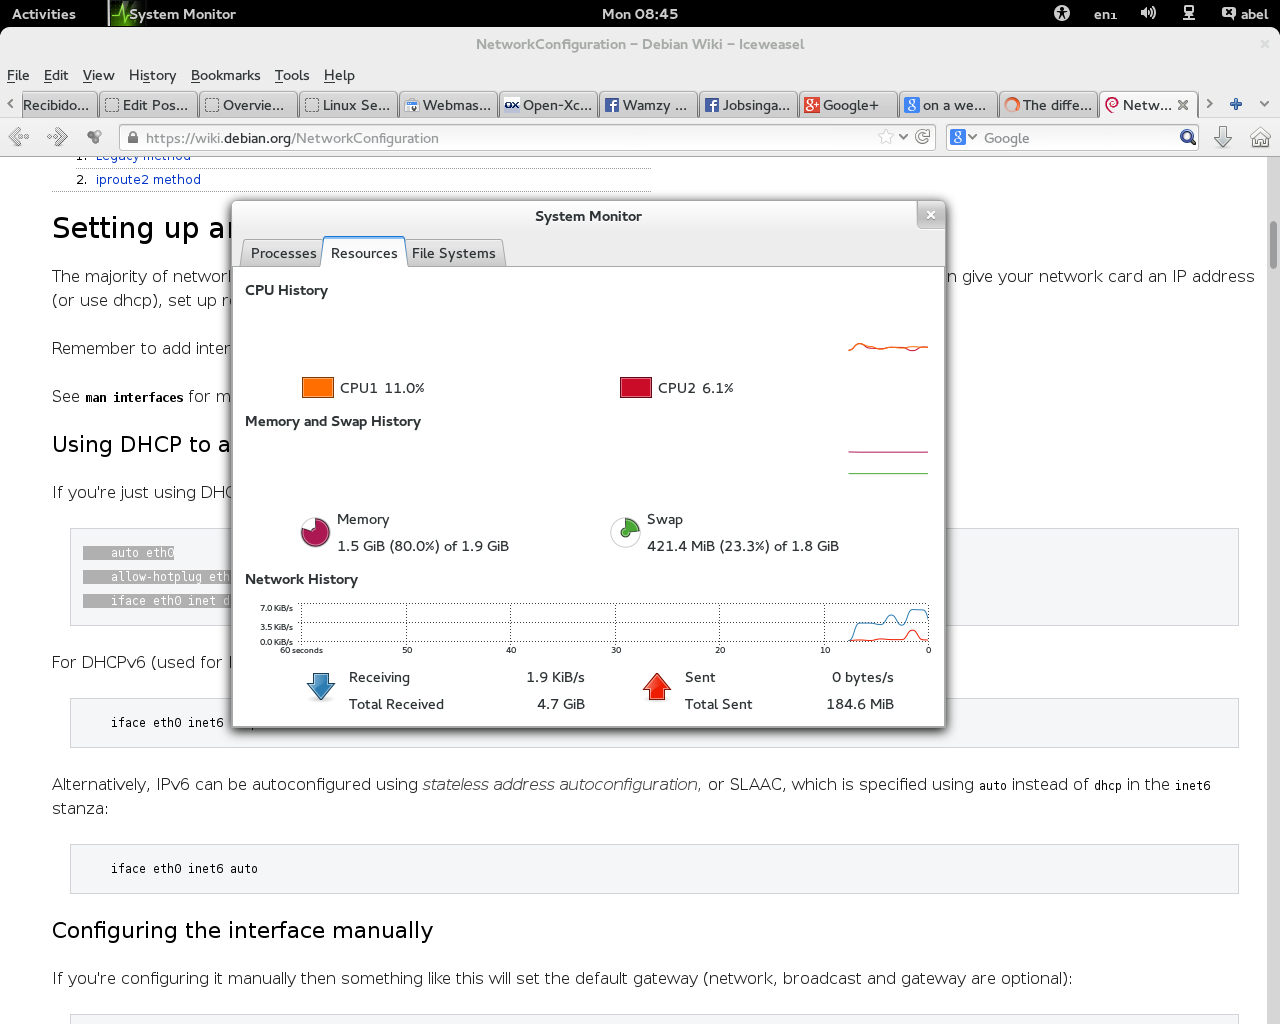
Network use of CPU resources
This post is part of a bigger Linux Debian administration material that you can access here.
Today we will deal with network and DNS configurations from command line. The graphical interface has different tools to configure the network and DNS, but this is a servers administrators post; so we will configure every thing from the command prompt. if you need more basic material explaining other aspects about Linux, Debian, basic commands etc, than you can go to the whole index of materials. We will only deal with IP version 4 (IPv4), but IPv6 is pretty similar. So you can learn IPv4 and then configure a network and DNS with IPv6 with just a few changes.
Content
- Network and DNS client configuration; introduction.
- Network Configuration
- The loopback Interface
- Creating the network configuration to use a DHCP server.
- Creating the network configuration to use a static IP address.
- DNS client configuration.
Now the main resources that I have used to create this material are the Debian network interfaces manual and the resolv.conf. You can access it by typing the following.
man interfaces
and
man resolv.conf
And the official’ Debian website material that you can find in the following link.
If you want to configure a network from the command prompt you have to know how to edit a file and some basic commands (Class 2 listed at the en of this page). In this material we will use nano for that purpose . Any way I will try to be as specific as I can and you can use any other editor of your preference. Also is advisable to have some knowledge about creating subnetworks and IP addresses. Lets start!
Network Configuration
The first thing that I am going to remind you off, also from Class 2 is a network command:
ifcofig: it lists your network interfaces; names, Mac Address (HWaddr), IP addresses (inet addr), Network mask (Mask), Broadcast (Bcast). For the Windows Network guys is similar to ipconfig /all. To test it you just need to run this in a root command prompt.
root@khs01sw10:~# ifconfig
 eth0      Link encap:Ethernet  HWaddr 08:00:27:a0:7e:72
 inet addr:10.175.0.1  Bcast:10.175.1.255  Mask:255.255.254.0
 inet6 addr: fe80::a00:27ff:fea0:7e72/64 Scope:Link
 UP BROADCAST RUNNING MULTICAST  MTU:1500  Metric:1
 RX packets:831736957 errors:0 dropped:0 overruns:0 frame:0
 TX packets:1006510543 errors:0 dropped:0 overruns:0 carrier:0
 collisions:0 txqueuelen:1000
 RX bytes:673686597602 (627.4 GiB)  TX bytes:685797076123 (638.6 GiB)

lo        Link encap:Local Loopback
 inet addr:127.0.0.1  Mask:255.0.0.0
 inet6 addr: ::1/128 Scope:Host
 UP LOOPBACK RUNNING  MTU:16436  Metric:1
 RX packets:293263 errors:0 dropped:0 overruns:0 frame:0
 TX packets:293263 errors:0 dropped:0 overruns:0 carrier:0
 collisions:0 txqueuelen:0
 RX bytes:103963497 (99.1 MiB)  TX bytes:103963497 (99.1 MiB)
root@khs01sw10:~#
When you do ifconfig it shows a lot of text. Of course it depends on how many interfaces you have. For a computer with only one network interface (what we “normally” use as a workstation), it should show only 2 blocks of text. One corresponding to the Network interface. Normally this network interface is called eth0 for Ethernets and wlan0 for wireless connections. And an other one corresponding to the loop back interface.
The loopback Interface
“The loopback device is a special, virtual network interface that your computer uses to communicate with itself. It is used mainly for diagnostics and troubleshooting, and to connect to servers running on the local machine.”
Taken from: http://askubuntu.com/questions/247625/what-is-the-loopback-device-and-how-do-i-use-it on 2014-03-03.
Creating the network configuration to use a DHCP server.
Network Interface file back up.
Both of them, the loopback and the Ethernet interface have more or less the same information. Just that loopback is a lot simpler than eth0. But to summarize you need to know is that net ifconfig command shows the network configurations Currently running. It gives the network interfaces names, Mac Address (HWaddr), IP addresses (inet addr), Network mask (Mask), Broadcast (Bcast).
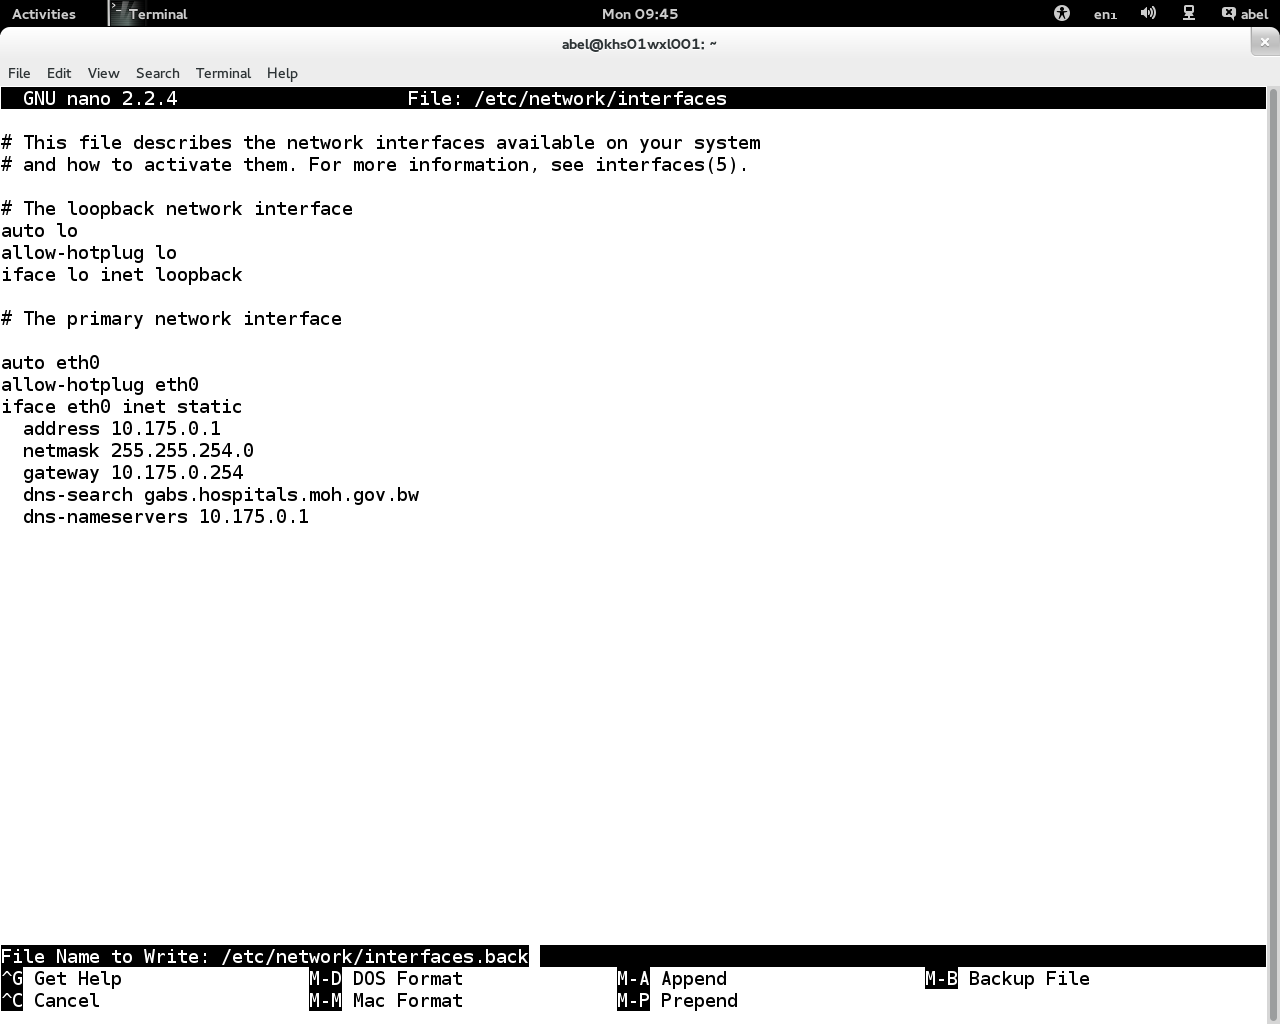
- (Optional) First step. Lets backup the network interface content. To do that we have to edit the file /etc/network/interfaces.
root@khs01sw10:~# nano /etc/network/interfaces
It will show the content of a text file. the first action every time that you are going to change a configuration file is to backup the original. so using CTRL+o, we will save the file with a different name and then we will close it. After that just open again the file in /etc/network/interfaces. As we have a backup we can just delete every thing a create out own content.
Note: In case we make a mistake we can always go to our old configuration by creating renaming the backup file to interfaces. for that we can use the following command.
mv /etc/network/interfaces.back /etc/network/interfaces
And it will move the file /etc/network/interfaces.back with a different name to /etc/network/interfaces. Also if we still need to leave a copy we can use the command cp with the same arguments. To get more information about this commands you can use man cp and man mv.
cp /etc/network/interfaces.back /etc/network/interfaces
Now lets edit the file lets delete every thing in the file and lets create our own content.
- Second open the file as I said with:
nano /etc/network/interfaces
- Delete the content of the file. Al the text inside. for that you can just use Delete key, backspace or CTRL+k key to cut line by line.
- write the following on the file:
auto lo
iface lo inet loopback

auto eth0
allow-hotplug eth0
iface eth0 inet dhcp
“Auto Ethernet” and “Auto eth0”
Auto Ethernet means “Select an Ethernet interface automatically”
Auto eth0 means “autoconfigure the eth0 interface”.
taken from: https://wiki.debian.org/NetworkManager on 2014-03-03.
- Save using CRTL+o again. and we are done with the withing in the network file.
- Restart the network interface. This step is basically test the configuration file integrity and reload the configuration from the file to the actual interfaces.
root@khs01wxl001:/home/abel# service networking restart
[warn] Running /etc/init.d/networking restart is deprecated because it may not re-enable some interfaces ... (warning).
[....] Reconfiguring network interfaces...Internet Systems Consortium DHCP Client 4.2.4
Copyright 2004-2012 Internet Systems Consortium.
All rights reserved.
For info, please visit https://www.isc.org/software/dhcp/
Listening on LPF/eth0/70:71:bc:b9:34:ad
Sending on   LPF/eth0/70:71:bc:b9:34:ad
Sending on   Socket/fallback
DHCPRELEASE on eth0 to 10.175.0.1 port 67
Internet Systems Consortium DHCP Client 4.2.4
Copyright 2004-2012 Internet Systems Consortium.
All rights reserved.
For info, please visit https://www.isc.org/software/dhcp/

Listening on LPF/eth0/70:71:bc:b9:34:ad
Sending on   LPF/eth0/70:71:bc:b9:34:ad
Sending on   Socket/fallback
DHCPDISCOVER on eth0 to 255.255.255.255 port 67 interval 4
DHCPDISCOVER on eth0 to 255.255.255.255 port 67 interval 10
DHCPREQUEST on eth0 to 255.255.255.255 port 67
DHCPOFFER from 10.175.0.1
DHCPACK from 10.175.0.1
bound to 10.175.0.146 -- renewal in 276 seconds.
ifup: interface eth0 already configured
done.
root@khs01wxl001:/home/abel#
If you receive this same warning do not worry, the warning is normal. It is just letting you know about of a configuration command that is deprecated and therefore is not supposed to be used any more.
Creating the network configuration to use a static IP address.
To create an static IP address to access the network, the procedure basically is the same. The only difference is that you have to change the content of the configuration file to something something like this:
auto eth0
allow-hotplug eth0
iface eth0 inet static
address 192.0.2.7
netmask 255.255.255.0
gateway 192.0.2.254
After restarting it is supposed to work just fine.
DNS client configuration
To connect to external resources using network names instead of IP addresses, the computer needs to use the DNS service. This service is very useful to translate from for instance php.net to the actual IP of the web server wherever this resource is located. In Linux systems all the DNS configuration for the client are located in a single file in etc or otherwise pointed from this file. The file is called resolv.conf.
The resolv.conf configuration file
“The configuration file resolv.conf at /etc/resolv.conf contains information that allows a computer connected to a network to resolve names into addresses. (Note: Do not confuse this configuration file with the program resolvconf, which unfortunately has a nearly identical name.)
The resolv.conf file typically contains the IP addresses of nameservers (DNS name resolvers) that will attempt to translate names into addresses for any node available on the network. There will be a line or lines that look like this:
nameserver 12.34.56.78
nameserver 12.34.56.79
In this example, the system is using nameservers at the IP addresses 12.34.56.78 and 12.34.56.79. Simply edit the file and enter the IP addresses of the nameservers you need to use after each nameserver. Add more nameserver lines if you have more nameservers. Don’t use this method if you have the resolvconf program installed.
The resolv.conf configuration file has many other options for defining how resolver looks up names. See man resolv.conf for details.”
Taken from: https://wiki.debian.org/NetworkConfiguration on 2014-03-03.
So basically you just have to open the file with nano or any other editor and change it to your prefered DNS.
root@khs01wxl001:/home/abel# nano /etc/resolv.conf
This configuration is named should contain something like unless you have a DNS configuration handler like resolvconf.
domain gabs.hospitals.moh.gov.bw
search gabs.hospitals.moh.gov.bw
nameserver 10.175.0.1
And that is basically it. Today we have configured the network and learned how to change the DNS configuration. i hope that this knowledge is useful some how for you, if you have any question or you see any error, please feel free to post it.